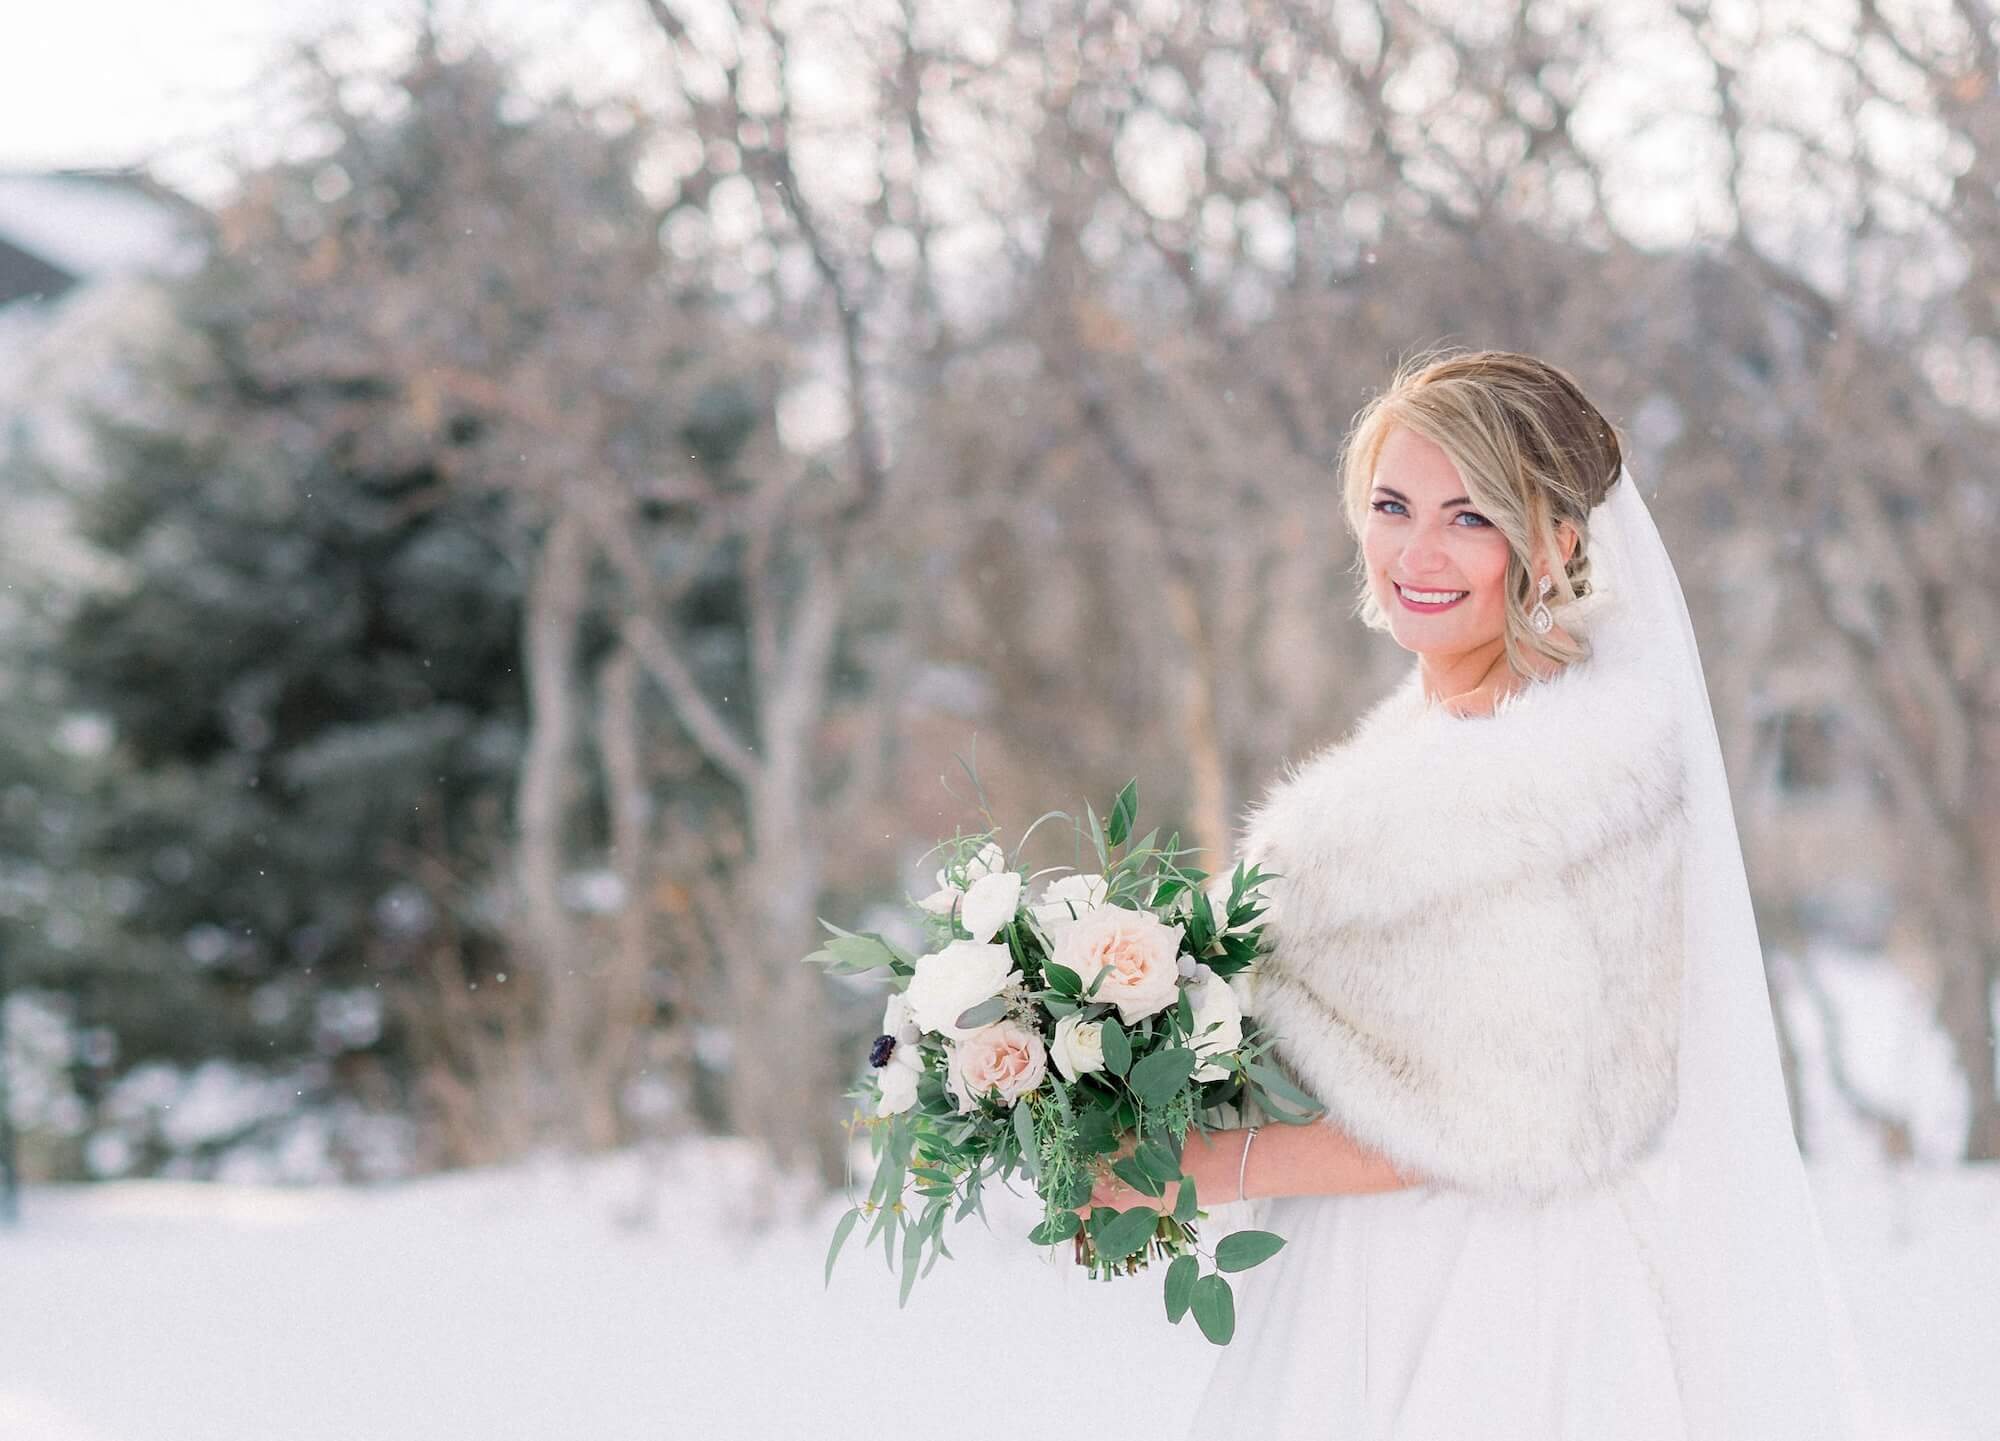
This bride-to-be was in search of a team skilled of creating ‘snow-proof hair & makeup’. Yes, this is...
Read More

This bride-to-be was in search of a team skilled of creating ‘snow-proof hair & makeup’. Yes, this is...
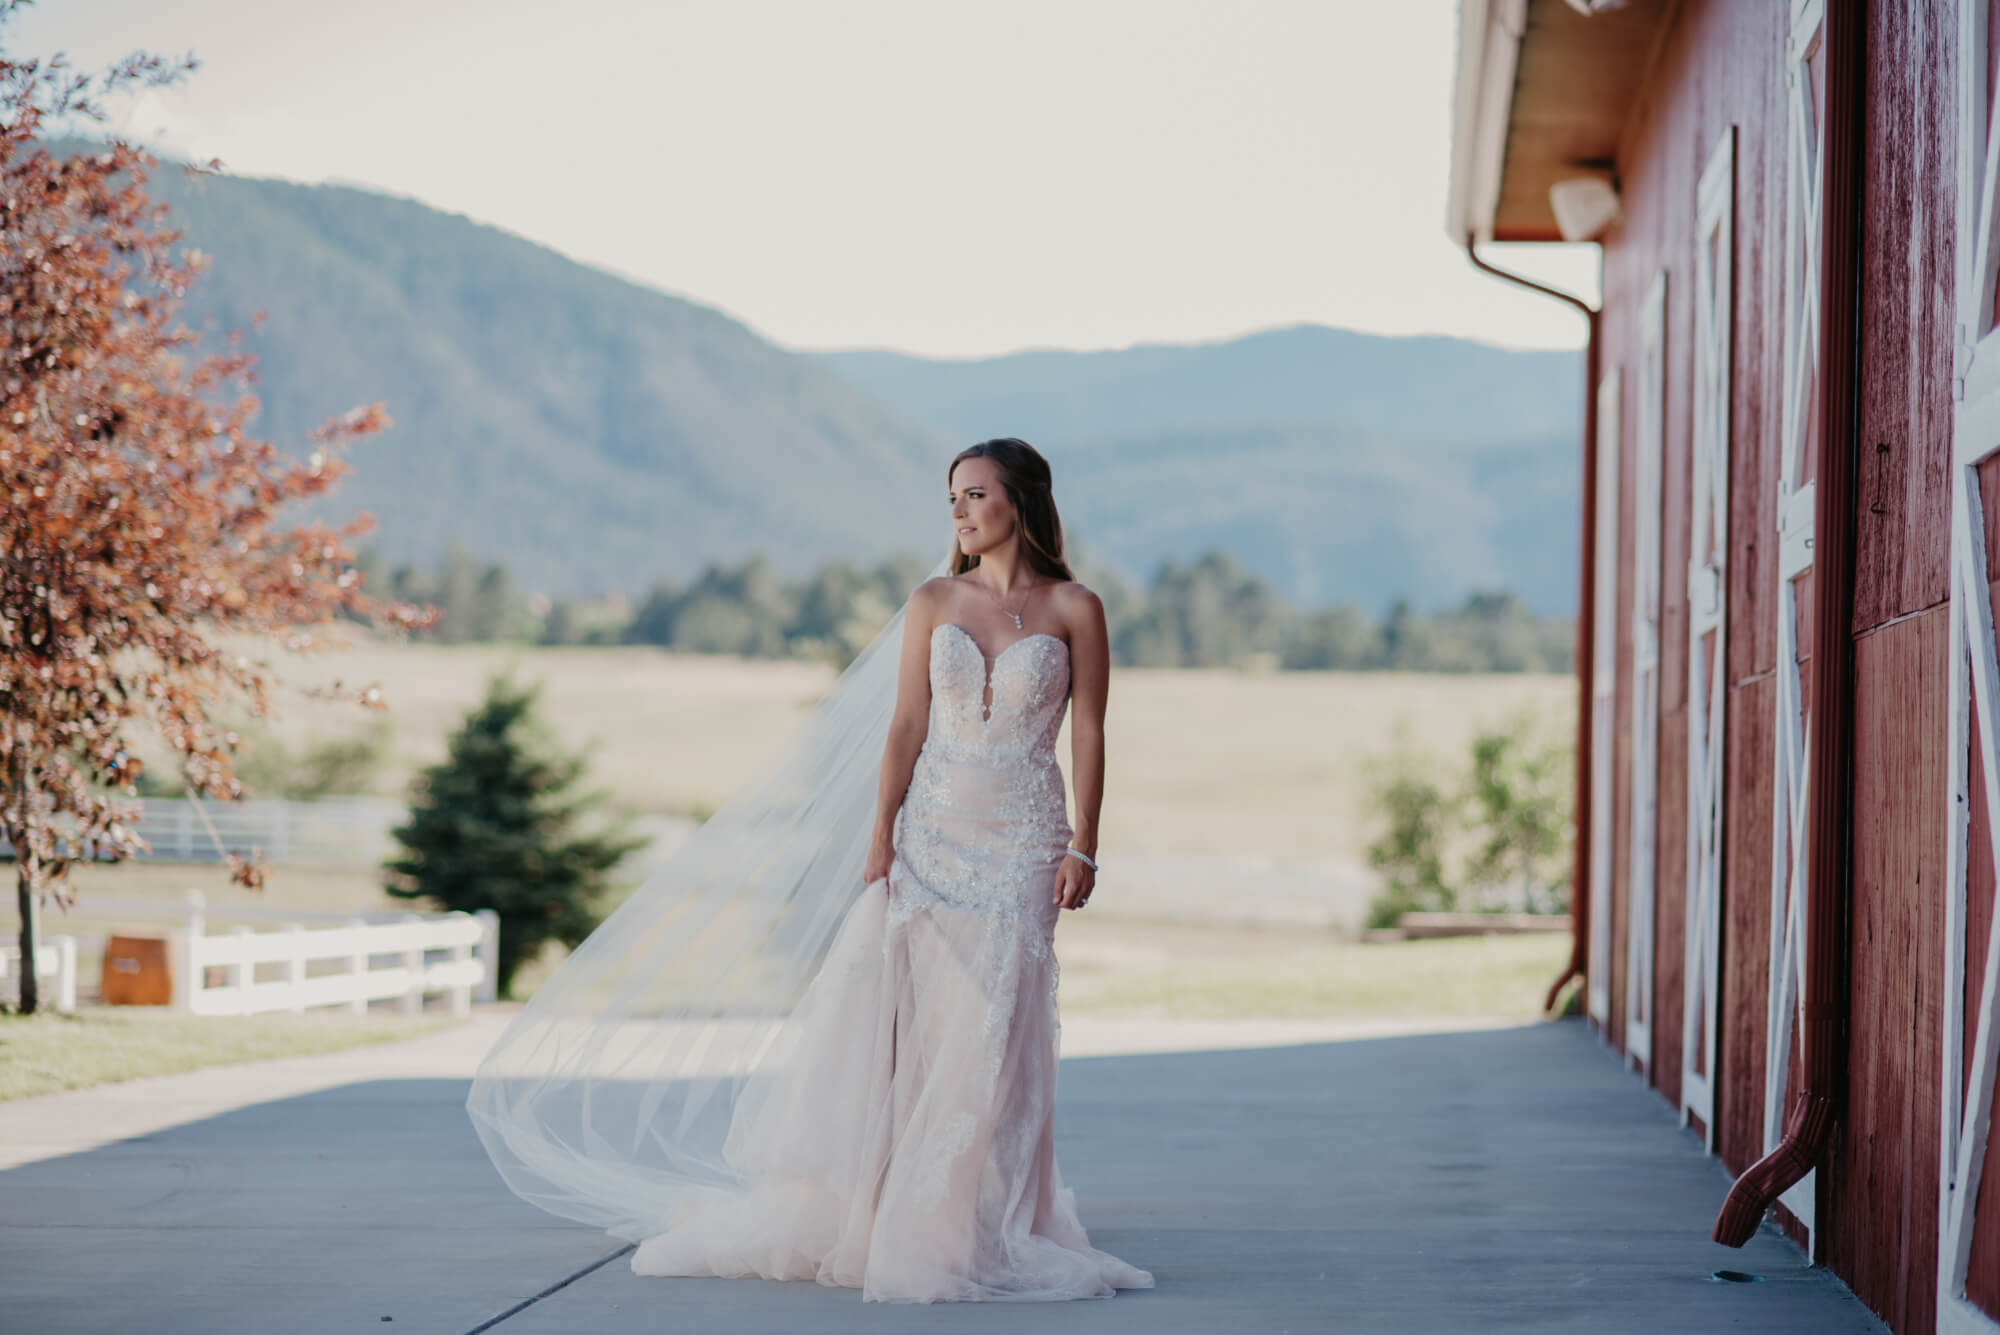
Read MoreFor Becky’s bridal party of 12, they needed a beauty team that could travel to Estes Park to...
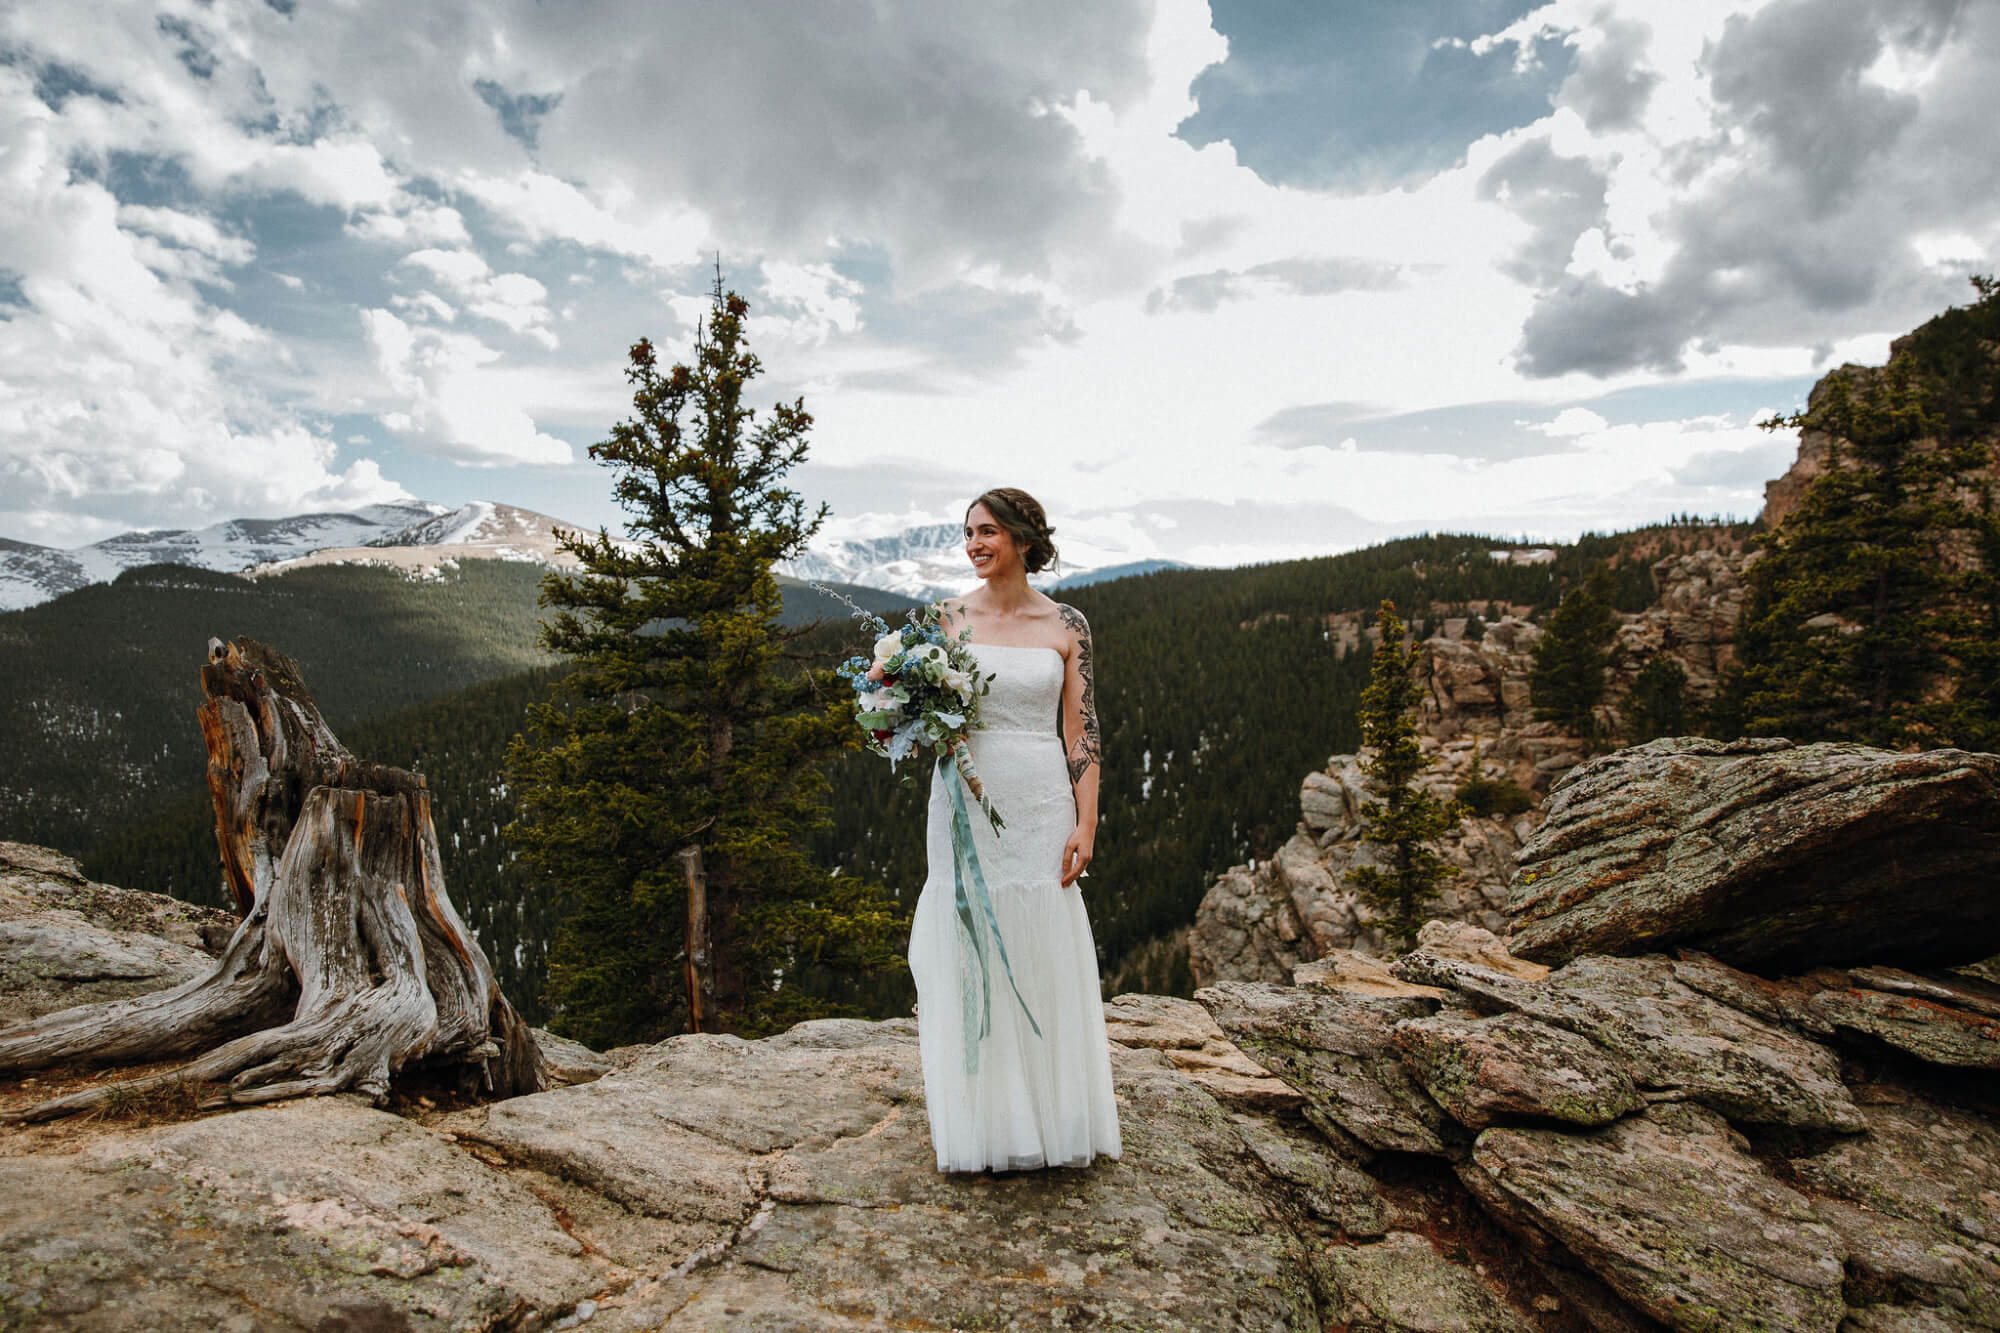
Read MoreThis photoshoot was orchestrated by the publication, Rocky Mountain Bride to showcase featured gowns from The Bridal Collection....
Read MoreThis couple took a road trip from the mid-west to elope in the Colorado Rockies. Their tiny wedding...
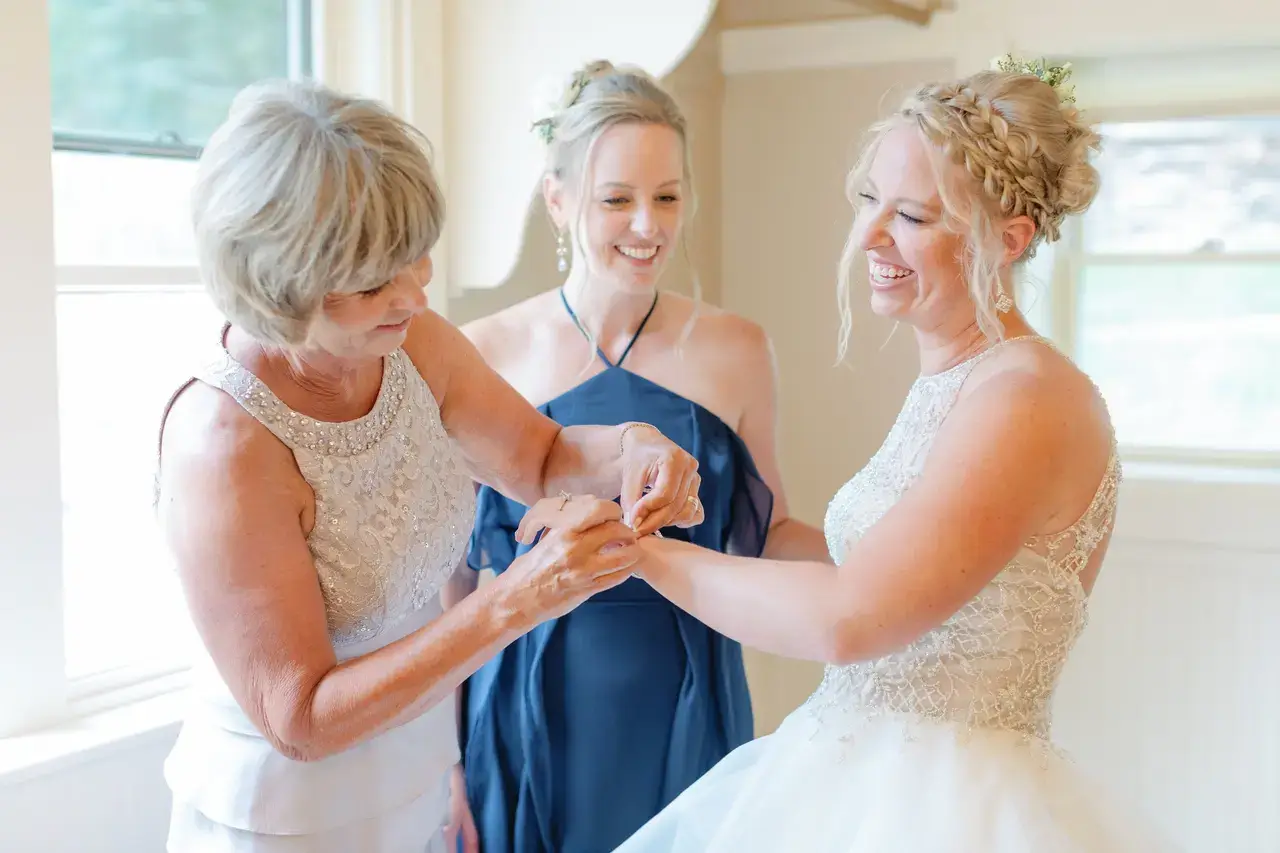
Read MoreKelsy sought out a large team of artists that could handle her massive group of family and friends....
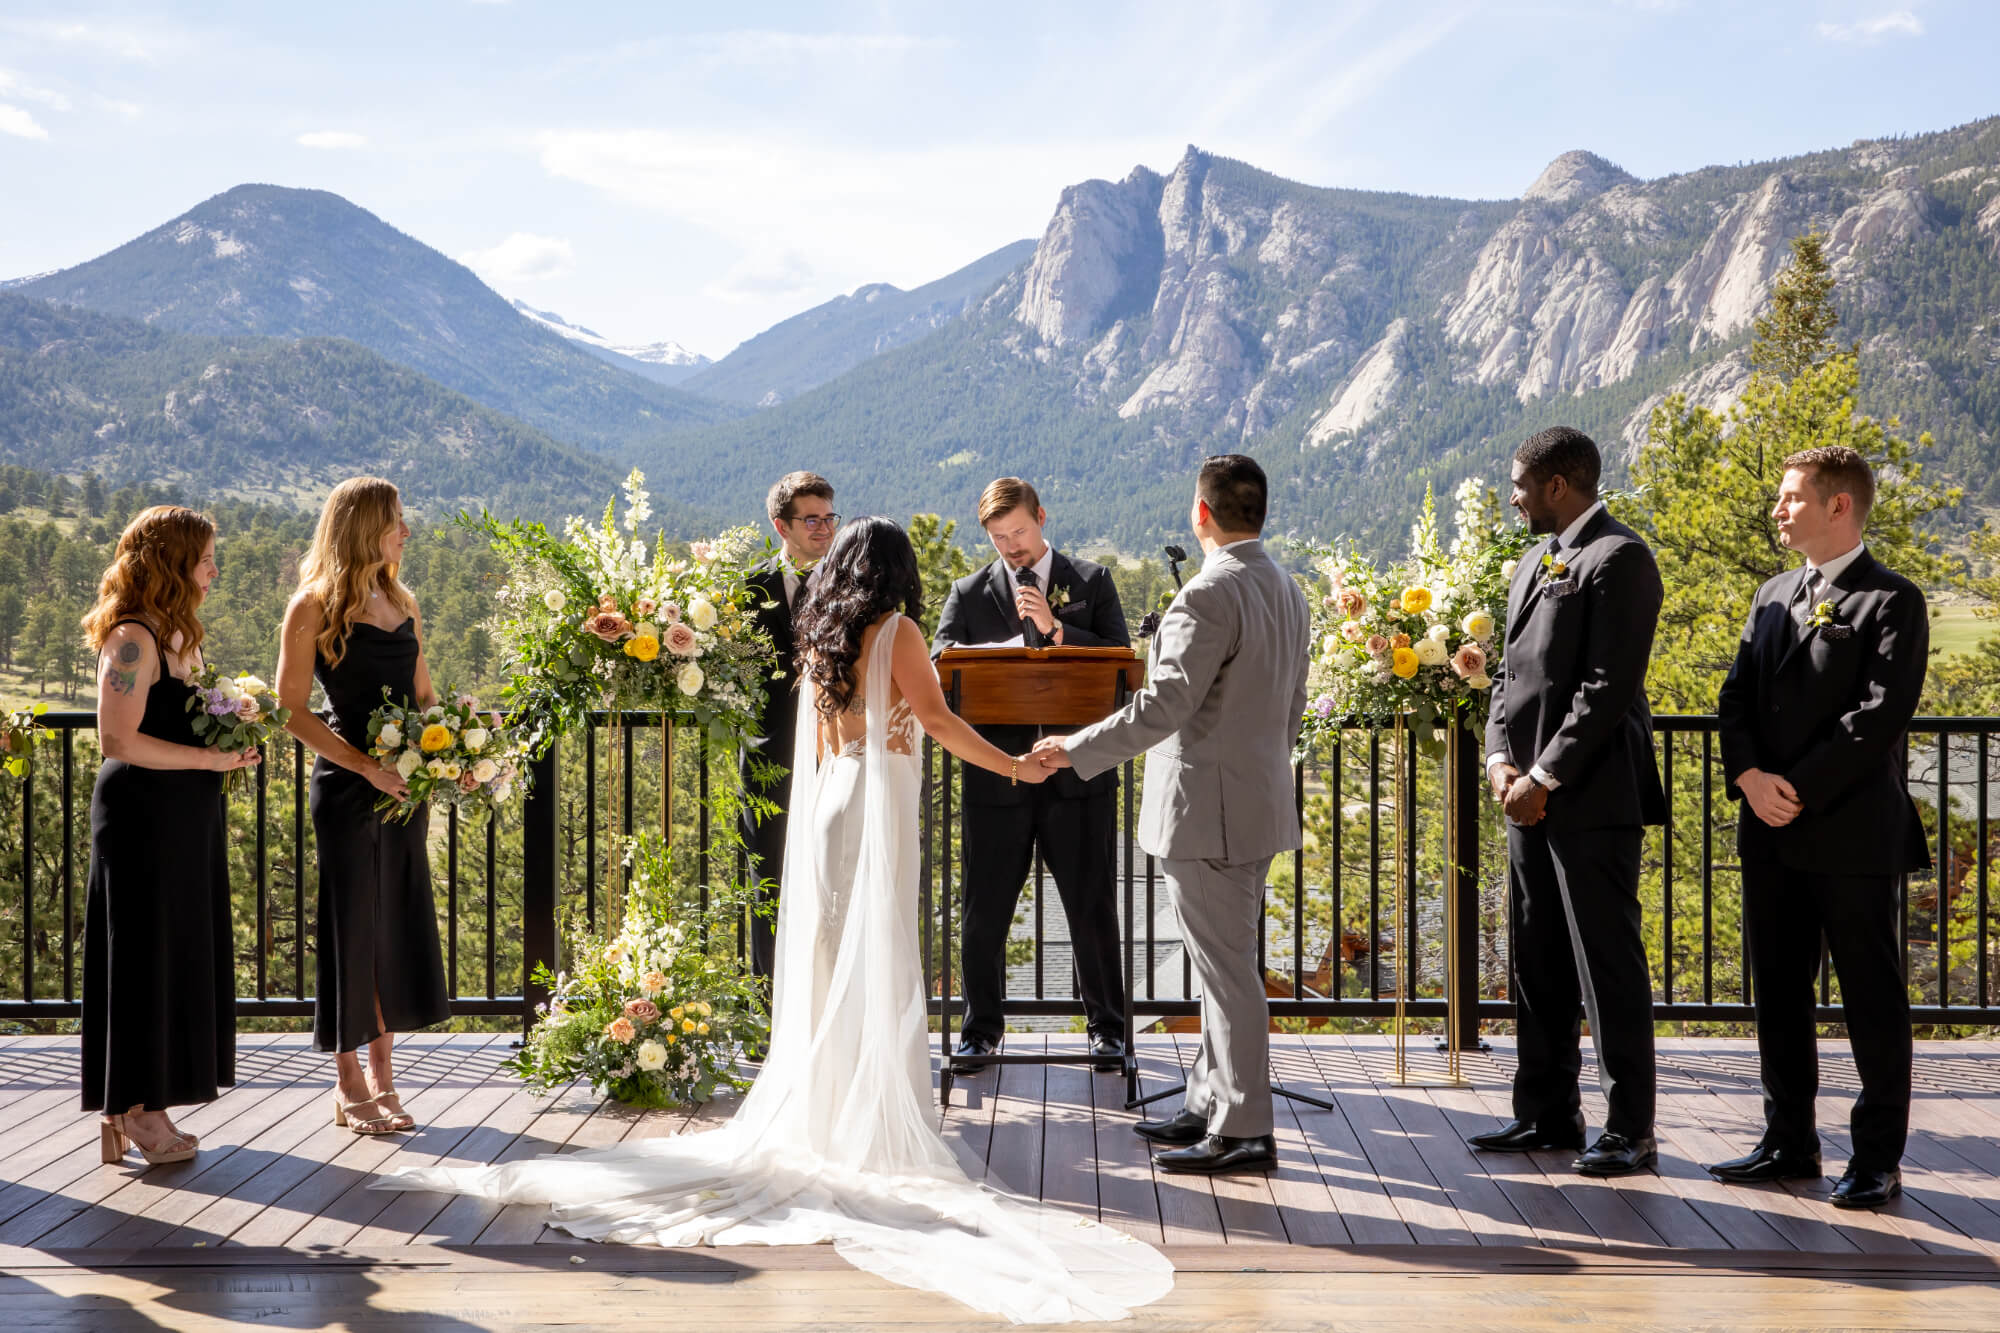
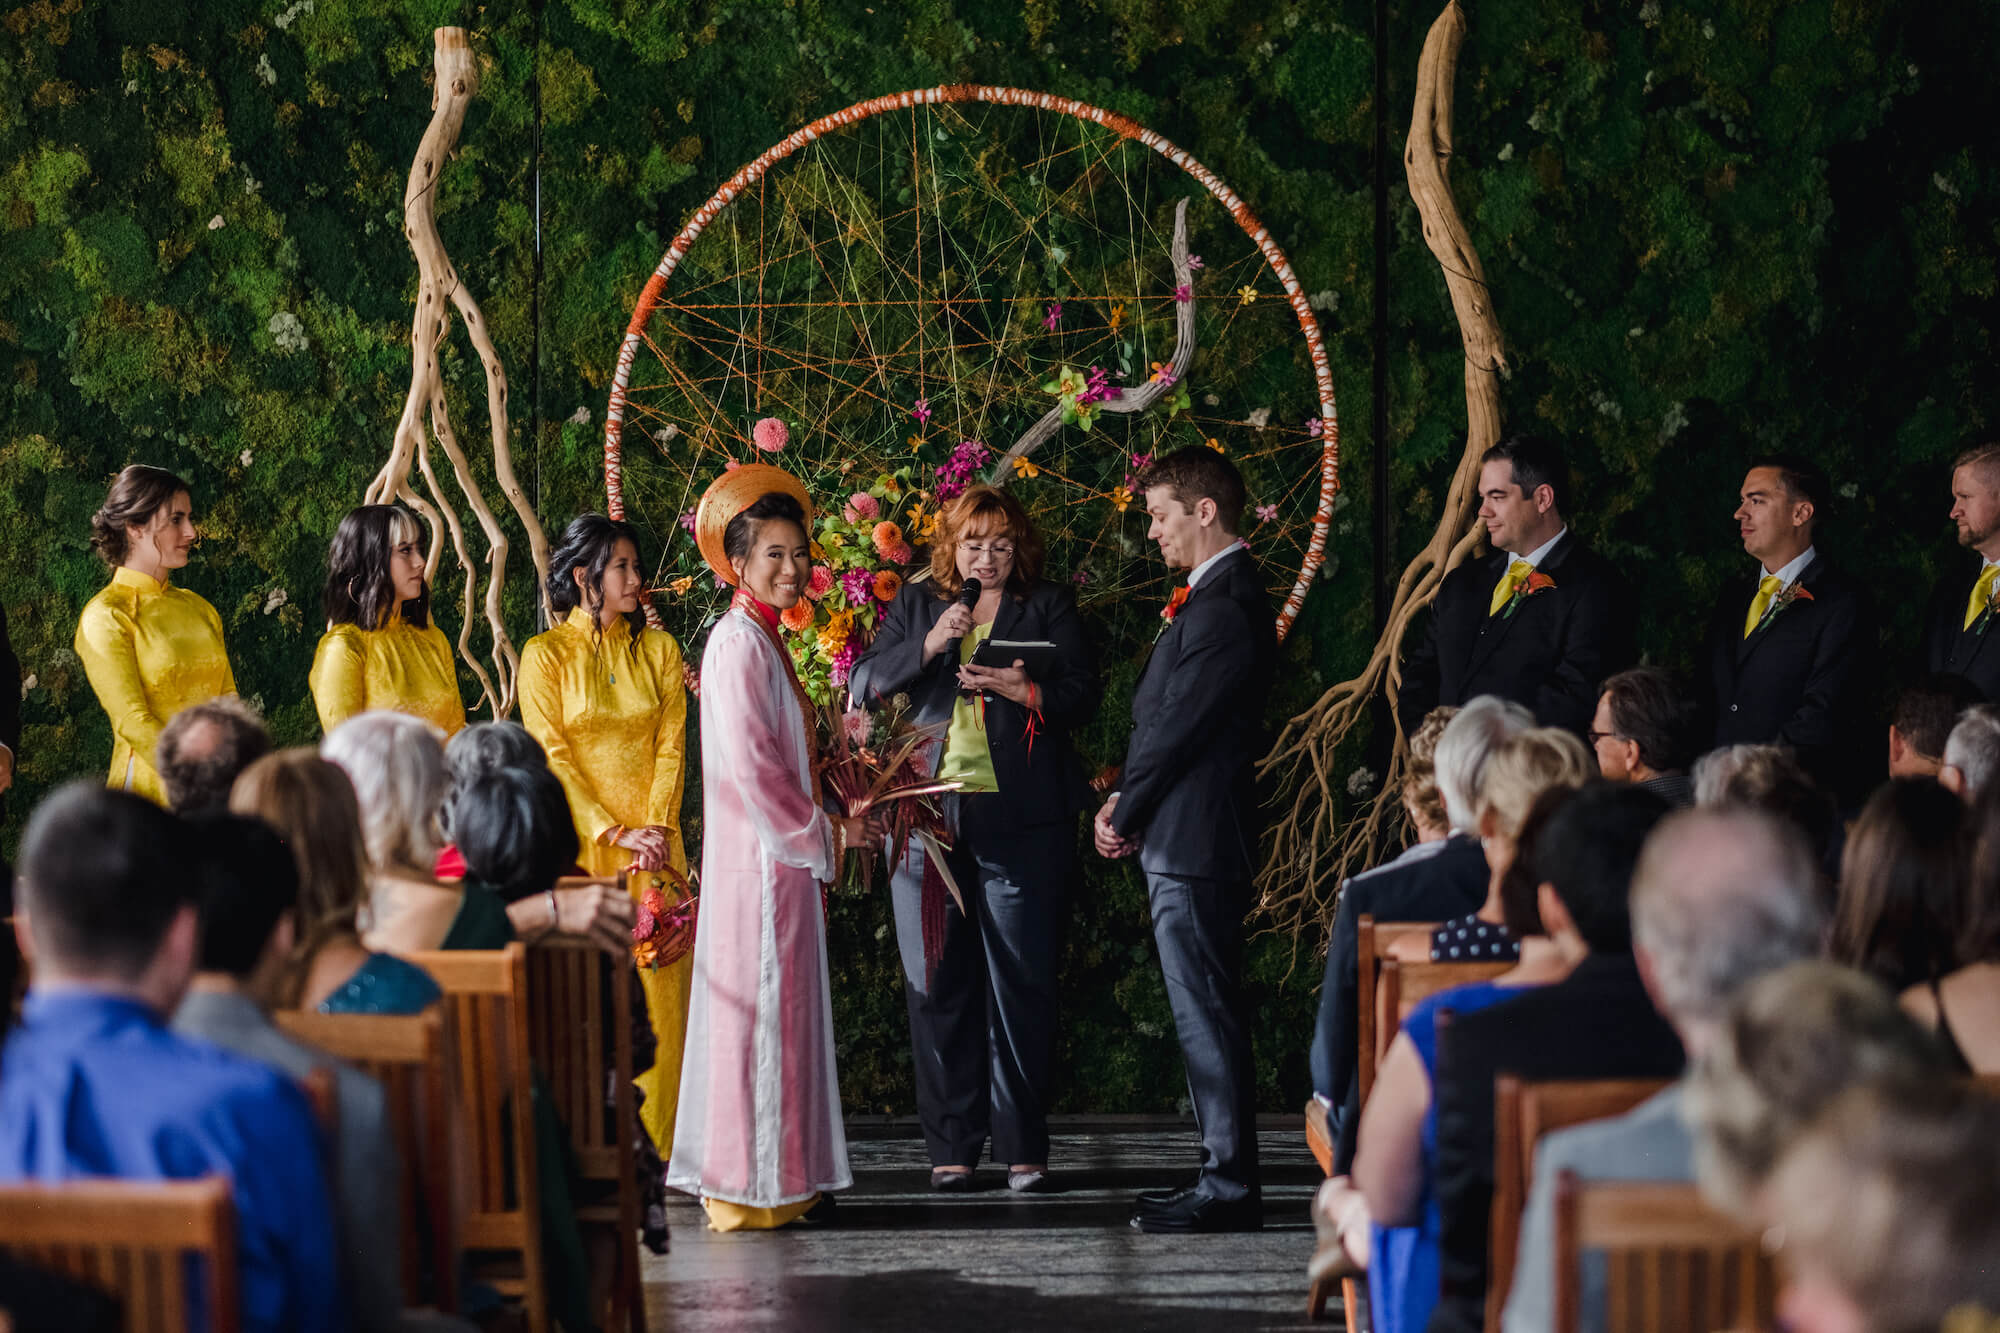
Read MoreWhen planning her wedding, it was important for Huyen to honor her Vietnamese family traditions, while also incorporating...
Read More